Rinko Parts – Useful not only for Train Travel

Since our first visit to Japan last year, we’ve been fascinated by Rinko, the Japanese system of packing bikes for train travel. The Rinko system developed by the builders Alps and Hirose is especially elegant and results in the smallest possible package for the bike.
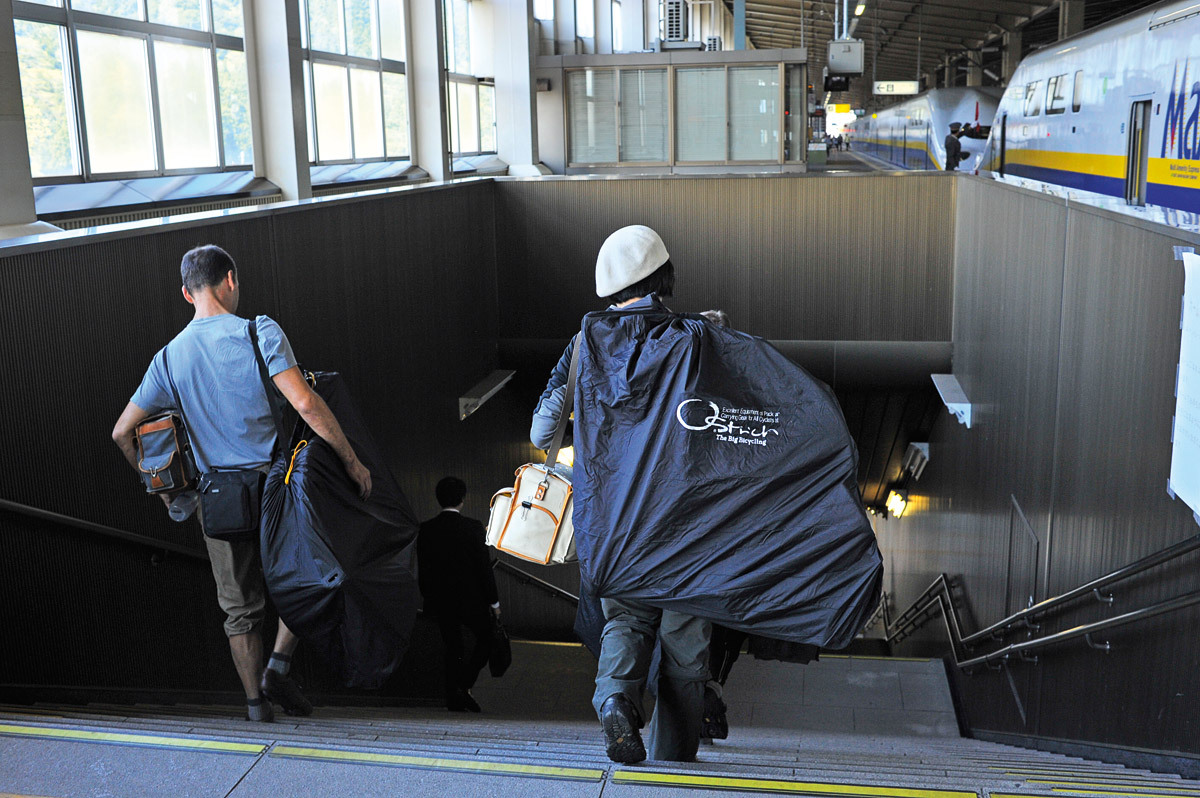
It still amazes me that a fully equipped randonneur bike, with a 60 cm frame, fenders, racks and generator-powered lights, can be disassembled in 12 minutes into a package that is no larger than the frame. Drape a bag over it, and you can carry it on trains, buses, and subways, or load it into even the smallest economy car. Put it in a padded bag, and you can travel on many airlines without paying extra fees. Best of all, there are no couplers or other parts that add significant cost, complication and weight.

After building my own Rinko bike, the “Mule” (above), I realized that every bike could benefit from being Rinko-compatible, even if only to remove the rear section of the rear fender when you transport a the bike inside a car…
The Winter 2015 Bicycle Quarterly includes a photo feature showing the details that make a bike Rinko-compatible. Small things make it easy to disassemble your bike. For example, slotted cable stops that allow you to remove the handlebars with the brake cables attached. There are only a few special parts needed to make a Rinko bike, and Compass Bicycles now offers them.

A key part is the “Rinko nut” (visible at the top of the fender). The rear fender is cut in half, a piece of fender is inserted into the rear portion, and the Rinko nut allows you to secure the two halves after you have slid them together.
A constructeur will cut the tongue that joins the two fenders from a third fender (since they can use that fender to make tongues for multiple bikes), but you can also shorten the bike’s rear fender by a few inches to get the material you need. Preparing a hammered fender so its halves slide together smoothly isn’t easy, so most Japanese builders use smooth fenders on their Rinko bikes.
 The Rinko nut is threaded on the outside, so you can attach it to the fender with the supplied (thin) hex nut. It also is threaded on the inside. This is where the bolt goes that holds the two fender halves together. It’s a simple part, but if you have to machine it yourself, you’ll spend some time. So we had a batch made to save you the trouble.

A part that is useful not just for Rinko are the Ostrich tube covers. These pads wrap around your frame’s tubes to protect them during travel. The pads are thin, so they can be carried in a handlebar bag when not in use. They close around the frame with Velcro.
The “long” version (above) measures 450 mm, while the “short” version is 240 mm long. The pads fit around standard and slightly oversize frames, but they are not large enough for extremely oversize tubes.

Rinko pedals aren’t required for travel, but they make disassembling your bike much easier. The stub remains on the cranks, and the pedal can be removed without tools. Available as clipless (above) and platform versions (below). The models we sell have MKS’ super-smooth bearings that are nicer than any other currently-made pedal I have tried.

These pedals are useful not only for Rinko, but also for bikes with S&S couplers, or if you want to switch between platform and clipless pedals on the same bike. (If you just want super-nice pedals with great bearings, these pedals also are available in standard, non-Rinko versions.)

The Compass Rinko brake is functionally the same as the standard Compass centerpull brake, but one arm has a different shape, so that the straddle cable unhooks on both sides. That way, you can remove the handlebars and brake cables as a unit. (With the standard centerpull brakes, one end of the straddle cable attaches to the brake.)

The special straddle cable has two barrels that hook onto the brake arms. The cable comes with a second end that gets silver-brazed onto the wire (arrow). That way, builders can set the straddle cable height as they like, for example, to clear a taillight. A minor disadvantage of the Rinko model: After wheel changes, you have to hook both ends of the straddle cable back onto the brake (rather than just one end).

The Rinko Headset Tool is shown here on the headset locknut. It looks like a cat, is made from lightweight aluminum, and weighs just 14 g. You can tighten your headset by hand, or use an 8 mm Allen wrench for extra leverage (above). The other socket measures 10 mm. This tool also is useful if you want to take a headset tool on a ride or tour, where the 8 and 10 mm sockets also can come in handy.

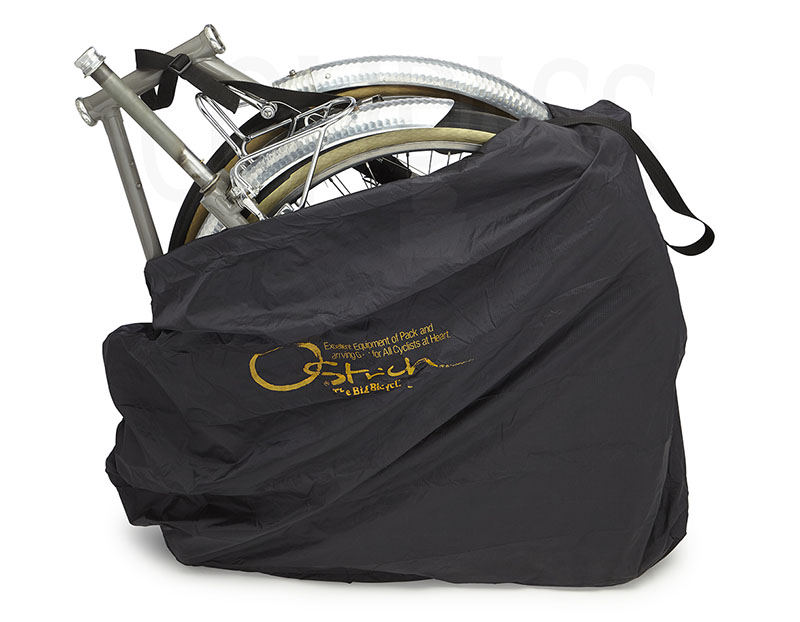
Rinko bags are used to cover the Rinko bike package during travel. The carrying strap attaches to the bike frame, so the bag doesn’t have to carry the weight of the bike (see photo at the top of the post).
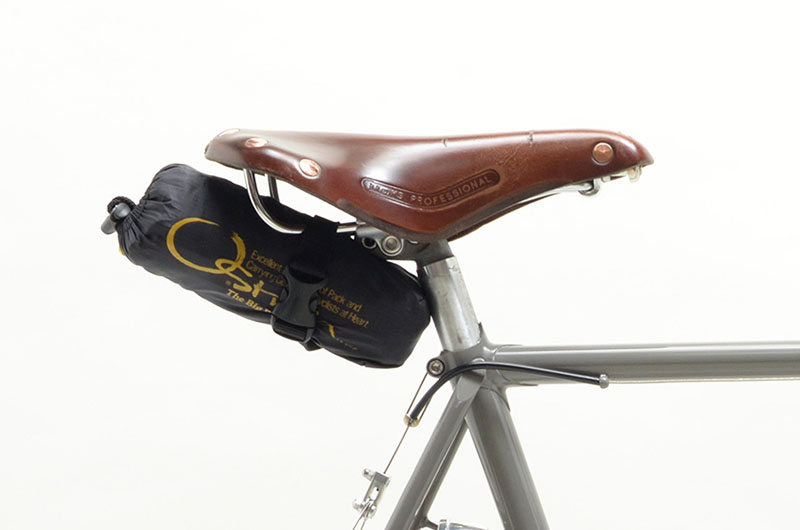
The Ostrich L-100 (above) is designed for the Alps/Hirose system of Rinko. Made from sturdy materials, it weighs 310 g, yet when not in use it fits into a pouch that is the size of a small water bottle.

The Ostrich SL-100 has the same dimensions as the L-100, but it’s made from ultralight SilNylon. It weighs just 200 g and packs very small. The SL-100 is not as strong as the standard L-100 bag, so it is not recommended for “Rinko beginners” who may try to stuff their bike into the bag, rather than just pull the bag over the Rinko’ed bike package.

Both Rinko bags come with three straps for packing the bike, a shoulder strap and a pouch to carry the Rinko bag on your bike. (SL-100 shown above.)

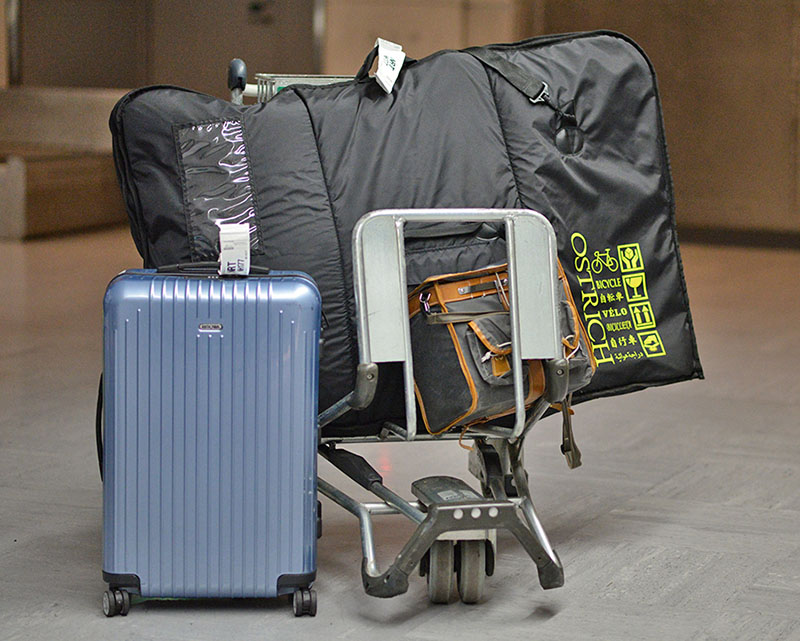
The Ostrich OS-500 Airplane Bag is padded for air travel. It is designed to work with many Rinko systems, so it is significantly larger than the L-100 and SL-100 bags. The Rinko’ed Mule fits into the OS-500 bag with room to spare. Taping the bag to reduce its volume allowed it to meet the luggage requirements for All-Nippon Airways (ANA) without requiring a surcharge.

Now that I have enjoyed travel with a Rinko bike, I don’t want to be without one. Considering how little it takes to make a custom bike Rinko-compatible, I know that from now, all my new bikes will be ready for Rinko. Being able to take my bike almost anywhere opens great possibilities.
Click here for more information about Rinko parts from Compass Bicycles Ltd.
Further reading:
- Bicycle Quarterly 48 with a step-by-step photo feature of packing a bike for Rinko.
- Bicycle Quarterly 54 with a detailed article on how to make a bike for Rinko.


