How to Set Up a Generator Hub
We get a lot of questions on how to run a generator lighting system. Compared to a self-contained battery-powered light, it can seem complex. Why are there so many different parts? They are mostly for special installations, and you don’t need them for a basic setup. In fact, the simplest setups are super-easy—no soldering or electrical skills required! And once you’ve installed generator lights, you never have to worry about charging your lights or running out of batteries on a long night-time ride. You simply turn the switch, and the lights come on.
Here’s how to equip your bike with generator lights:
Step 1: Hub and Front Light
This is the easiest way to run generator lighting. Many riders use a battery-powered or rechargeable taillight, because it simplifies the wiring. Taillights use relatively little power, so the run times tend to be sufficient for most riding. And you can always add a generator-powered taillight later.
What you need:
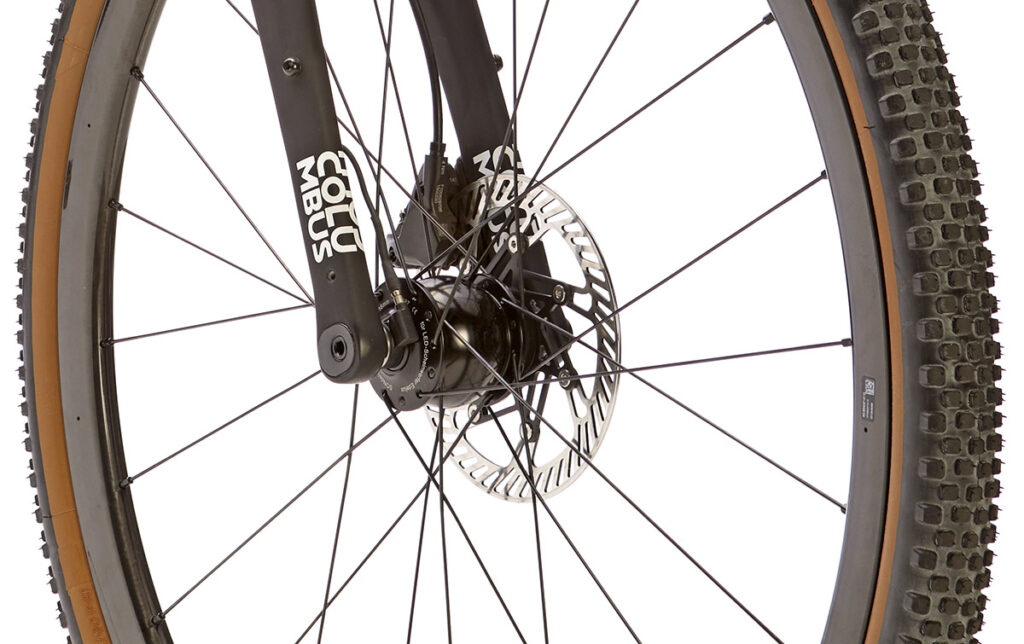
- Wheel with generator hub: Ask your wheel builder for a wheel with a hub, rim and spokes of your choice. We recommend the SON generator hubs, because they have the lowest resistance. And thanks to the ingenious pressure compensating system, they last practically forever. (Other generator hubs can suffer from bearing failures because moisture gets sucked into the bearings when the hub cools and the air inside contracts.)
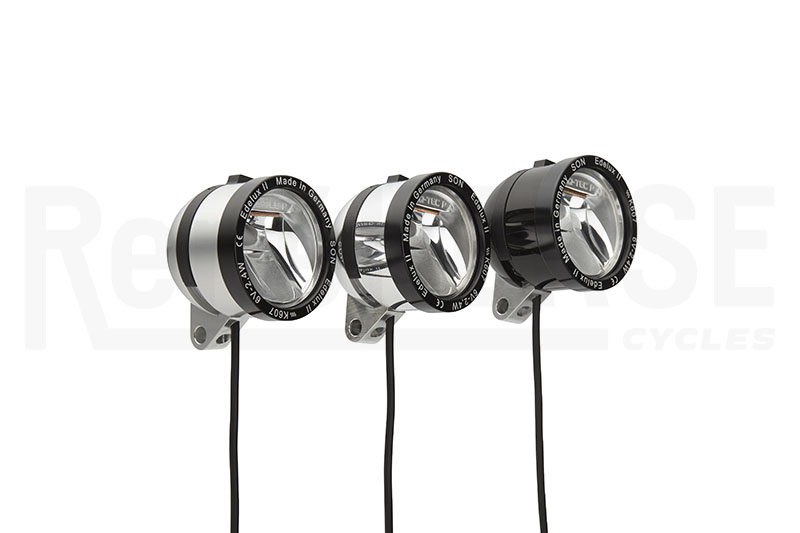
- Edelux II headlight: These headlights feature a powerful LED, a layered beam, and a standlight function. They illuminate the road surface as evenly as a car headlight. For most installations, choose the ‘Standing’ version.
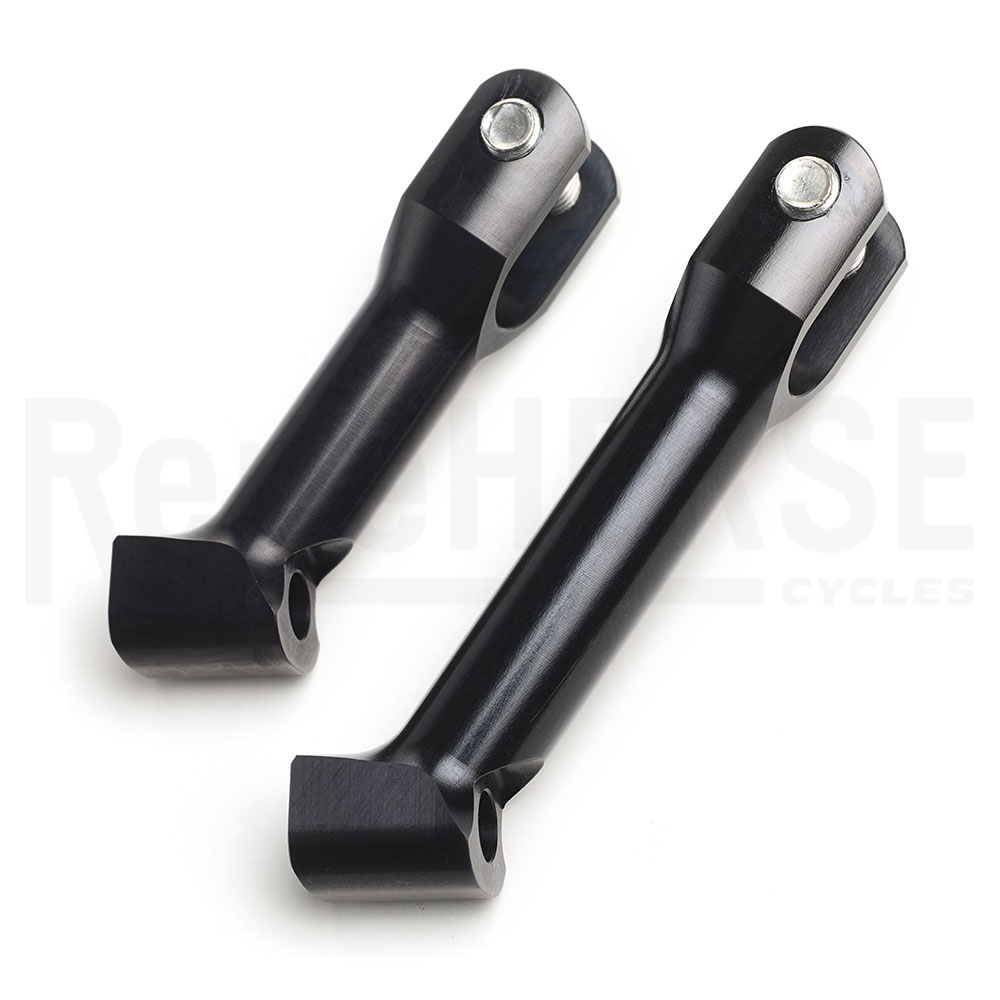
- Light mount: There are many ways to mount your light. If your fork has a forward-facing hole in the fork crown, the SON light mount (above) is an excellent choice. If you are planning to run a Rene Herse front rack, choose one with a built-in light mount, or add our separate mount.
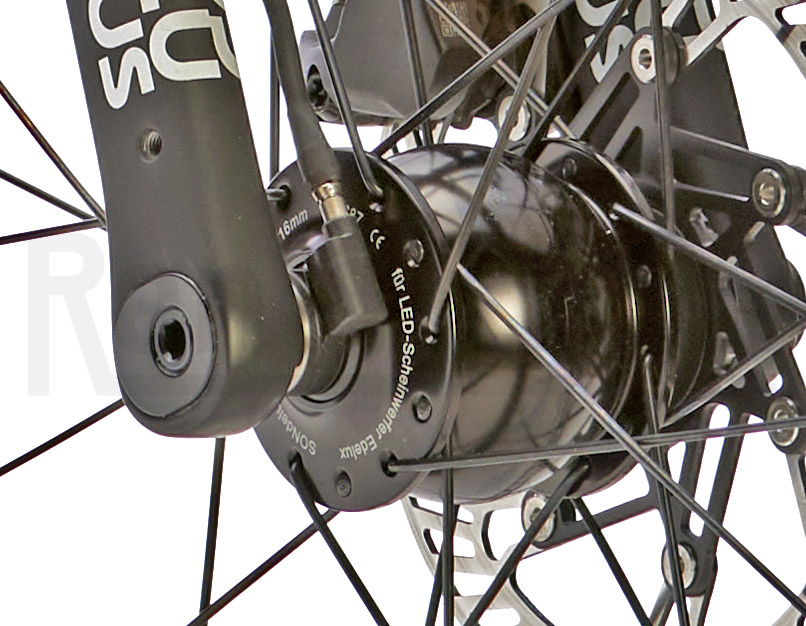
Connecting the light
The Edelux II is available with 60 cm of wire and pre-installed connectors. Installation has just three steps:
- Bolt the light to your bike.
- Wrap the wire around the fork blade to secure it and take up any excess.
- Plug the connectors into the generator hub.
It’s really that easy. SON offers two types of connectors:
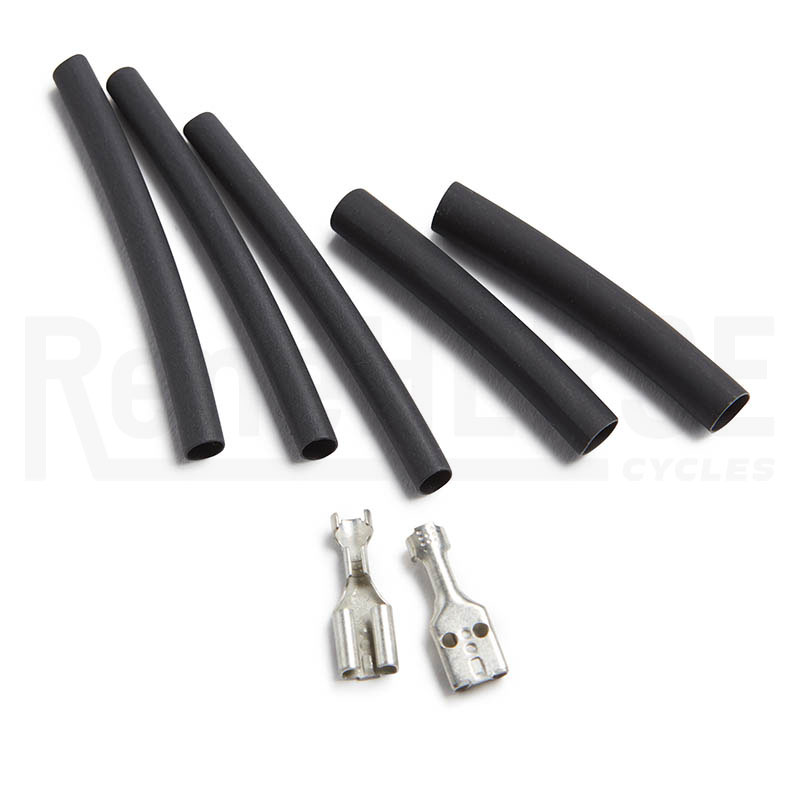
The classic spade connectors have proven themselves for decades. They are my favorites, because they are simple and fool-proof. They will outlast any other connectors out there. If they ever get loose after many, many times of unplugging your hub (when you remove the front wheel from your bike), you simply squeeze them with pliers, and they are as good as new. If necessary, you could do this by the roadside with a rock. (It won’t be necessary, since they loosen up gradually.) Best of all, the spade connectors come off without damage if you forget to unplug them before you remove your front wheel. (Not recommended, but a good failsafe.)
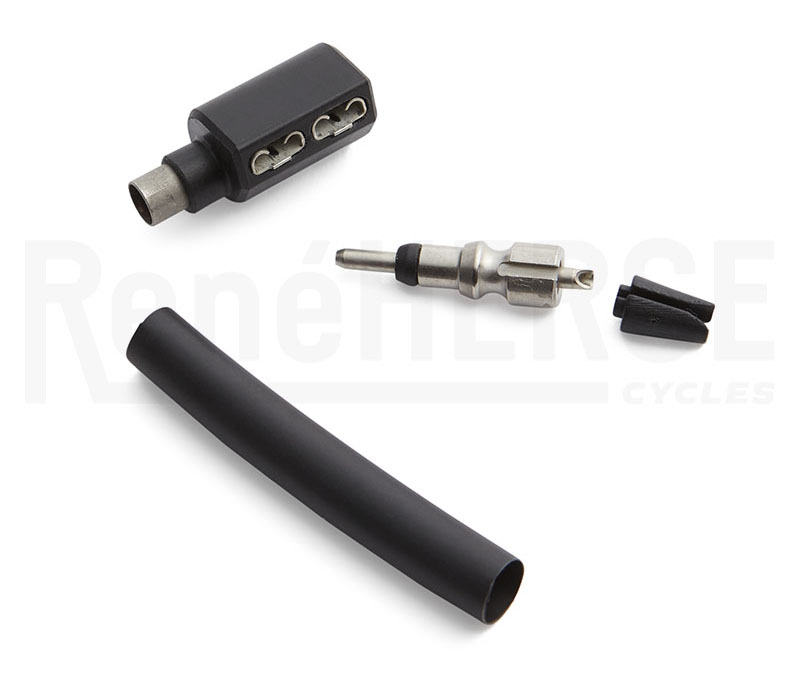
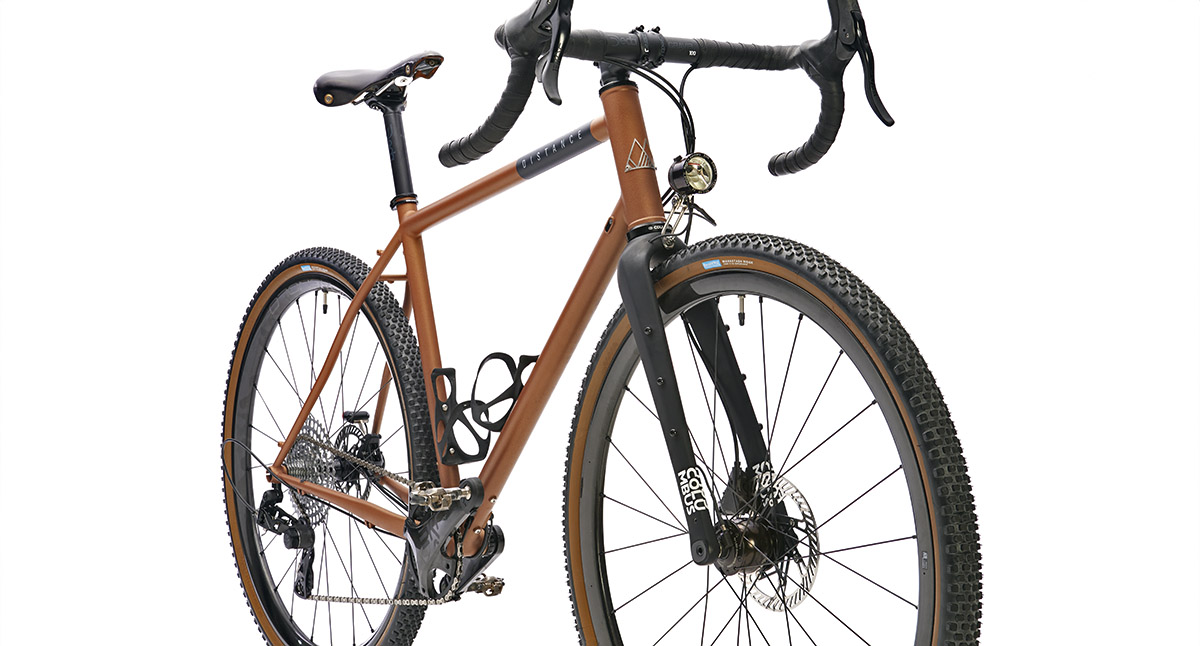
The coaxial connectors look sleek and require only a single plug to be removed before you can take out the front wheel. They are soldered onto the wire. SON offers the Edelux II with pre-installed coaxial connectors, so you can run these connectors just as easily as the spade connectors. The generator hubs are the same for both types of connectors. To use the coaxial connector, you simply plug a coaxial adapter (at the top in the photo above) onto the tabs of the hub. It’s a tight fit—you install it and then it stays put, even when you unplug the headlight wire with its coaxial connector. The bike shown in the photos is equipped with the coaxial connectors. You can start with one type of connectors and switch, if you ever feel you’d rather have the others.

Custom wire lengths
Sometimes, you’ll want to install the connectors yourself. The Edelux II is available with 140 cm (4.5 feet) of bare wire attached to the headlight, plus separate connectors (included). You’ll want this version if:
- you need more than 60 cm wire.
- you want to cut the length of the wire ‘just right’ and attach it with zip ties.
- your fork has a tunnel to run the wire internally (above). You first route the wire through the fork and then attach the connectors.
If you prefer to run the coaxial connector, you’ll also need:
We’ll cover in a future post how to attach the connectors securely and reliably, so they don’t corrode over time and lose conductivity, or come off if you remove the wheel and forget to unplug the generator hub.
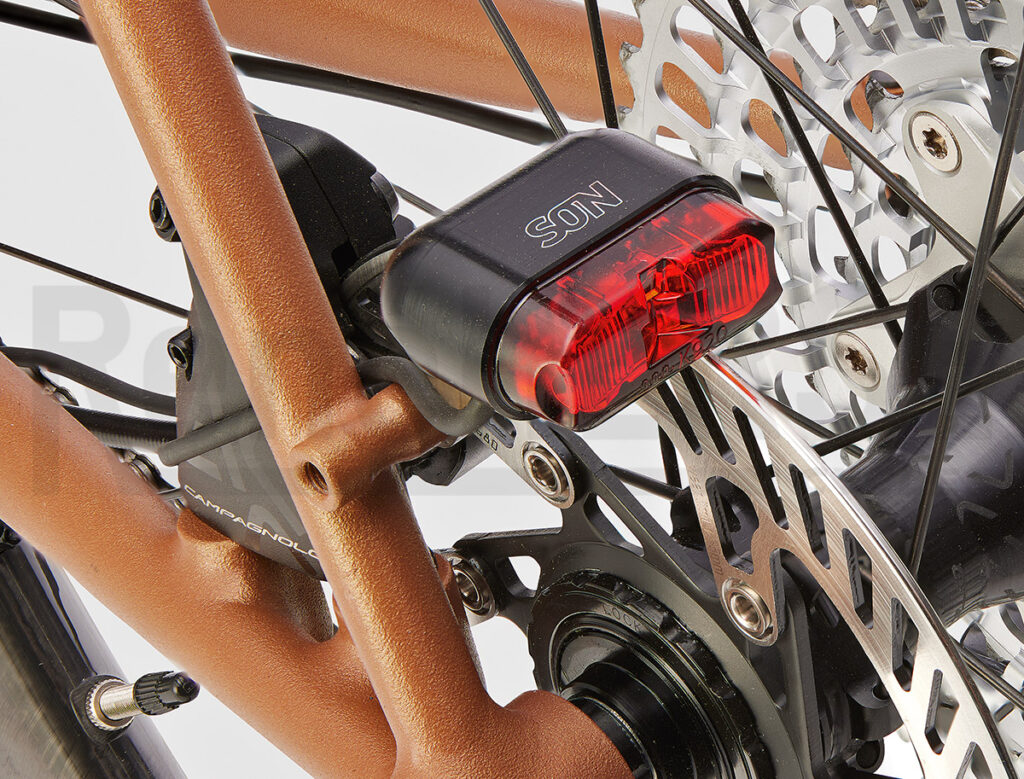
Step 2: Taillight
Since you’ve got a generator hub powering your front light, it makes sense to send juice to your taillight, too. That way, you’re truly autonomous and don’t have to worry about run times. (Nothing worse than your taillight going dark in the middle of the night.)
In addition to Step 1, you also need:
- Taillight: There are a variety of taillights that are designed to be powered by your generator hub. The SON taillight (above) is excellent. We also carry taillights from Busch & Müller. We also make our own taillight for custom bikes.
Wiring a taillight is not complicated. All connectors are included with the Edelux II headlight.
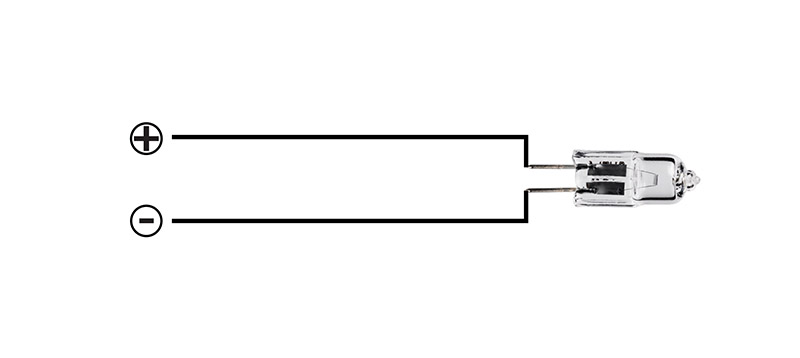
Before we start, let’s remember a little bit about electricity from high school. (Yes, that was probably a long time ago!) To flow, a current needs two poles: + and – or ‘positive’ and ‘negative.’ Just ‘pushing’ electricity through a single wire (+) won’t work. There needs to be a return for the current (-).
At the front, SON headlights come with a two-stranded wire that you plug into the hub. That takes care of the + and -. With the bicycle lights in the Rene Herse program, you can switch + and – and not cause any problems: The lights will work just fine regardless.
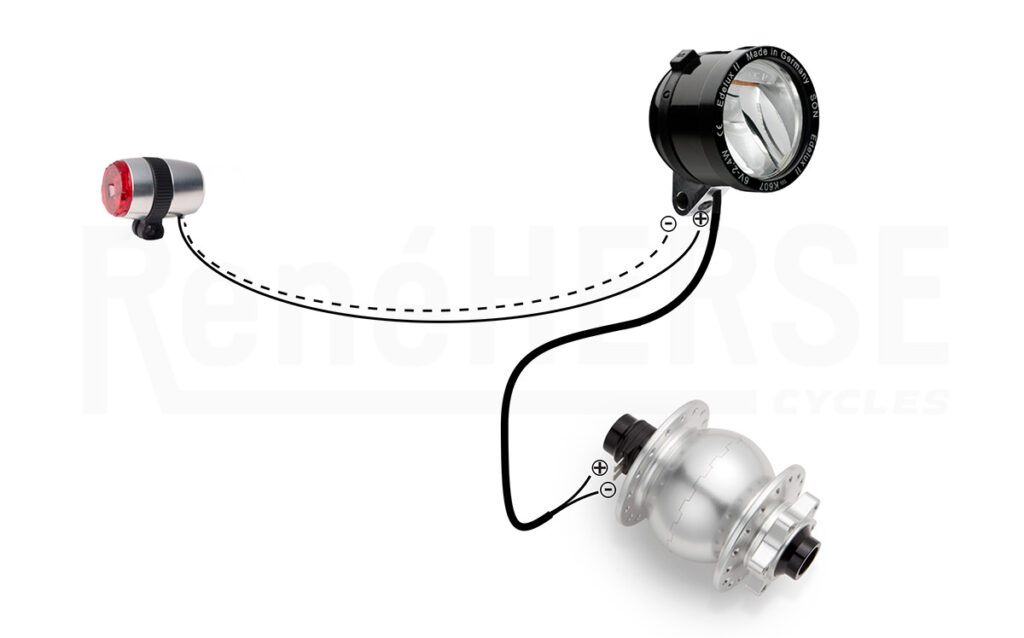
On the rear, the + runs from the taillight to the Edelux II headlight, where it plugs into a small hole inside the mounting stub at the bottom of the light. Why connect the taillight to the headlight, and not directly to the generator hub? That way, the light switch on the headlight turns the taillight on and off, too.
On most bikes, the – also runs as a wire from the taillight to the Edelux II headlight. It connects to the housing of the Edelux II via a loop connector (included) that goes onto the mounting bolt.
The housing of the headlight is grounded (meaning it’s connected to the -). That way, you can use the frame as the return path (-) instead of a separate wire. This works only if there is a continuous path for the electricity from the taillight to the Edelux II headlight. The current won’t flow if
- your taillight is mounted to a plastic fender
- your frame or fork are made from carbon
- your headset is anodized
- your light mount is made from plastic.
In those cases, you need to run a separate – wire. That’s why most taillights come with 2-strand wires.

If you plan to take out your fork from time to time and don’t want to redo the taillight wiring each time, install a coaxial connector (above) near the headset. Then you can disconnect the taillight wires from the fork. (The coaxial connector has both the + and – in the same plug, so there is only one connector to unplug.)
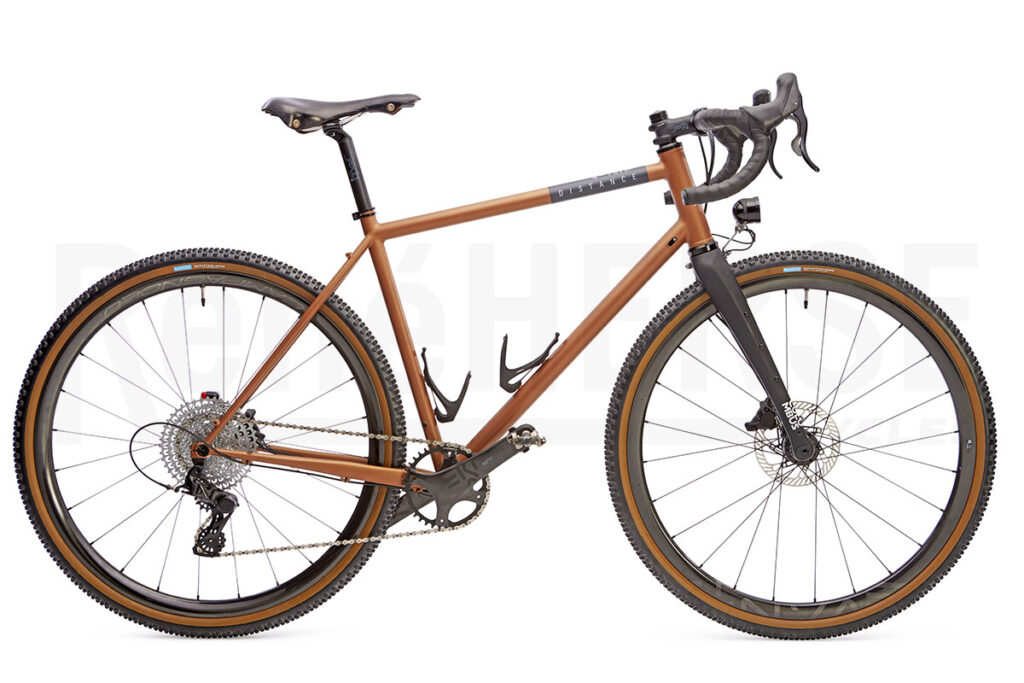
That’s all you need to run generator-powered lights on your bike. You’ll enjoy the freedom of having light anytime, anywhere, simply by turning the switch on your Edelux II. Or you can set the switch so the light sensor turns your lights on automatically as soon as it gets dark—or when you enter a tunnel.
What about internal wiring, the SL system and headset slip rings? Those are more advanced installations, and we’ll cover them in a future post.
Demand for generator hubs and Edelux II headlights has been high, and some models have been out of stock. Another shipment from Germany is scheduled to arrive next week, and you can pre-order the parts you need.
More information:
- SON Generator Hubs
- Lights and light mounts in the Rene Herse program
- The Distance 45 bike shown in the photos was tested in Bicycle Quarterly 82.


